


Firearm Laser Engraving in 2025: A Playbook of Styles, Settings & Practical Hacks

Laser engraving has evolved from basic serial numbers to a full‑blown art form that blends metallurgy, graphic design and storytelling. Whether you’re refinishing a competition pistol, commemorating a service rifle or launching a limited‑edition parts line, a desktop diode system provides micron‑level precision and repeatability—without the bulky footprint of industrial fibre units. This guide distils the most effective techniques, design trends and workflow shortcuts for engraving modern firearms in 2025.
1 Why Laser‑Engrave Firearms?
| Benefit | Real‑World Impact | Typical Application |
|---|---|---|
| Personal identity | Heirloom slides, monograms, competition nicknames | Slide flats, mag plates |
| Texture & function | Added grip where gloves slip | Front straps, polymer frames |
| Limited‑run collectability | Numbered drops for enthusiast markets | Barrel shrouds, dust covers |
| Storytelling | GPS coords, service dates, family crests | Receivers, wood stocks |
Laser engraving delivers line widths down to 0.06 mm, consistent depth and repeatable colour‑oxide finishes—all controllable from a laptop running LightBurn or similar CAM software.
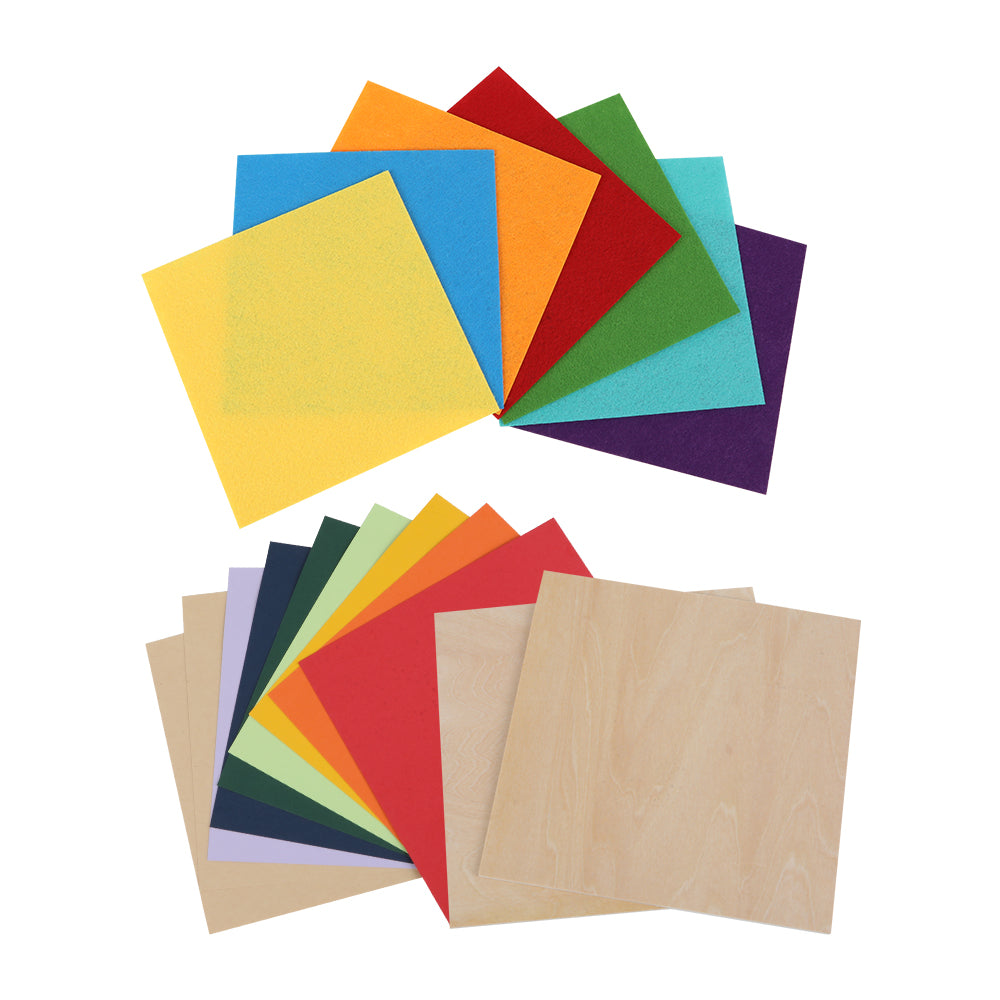
2 Material Response Cheat‑Sheet
| Material | Best Diode Power | Speed (mm / min) | Line Interval | Passes | Note |
|---|---|---|---|---|---|
| Stainless slide (blue oxide) | 90–100 % (22 W) | 280–320 | 0.06 mm | 1 | Cool with fan to lock hue |
| Carbon‑steel receiver (grey anneal) | 85 % | 350 | 0.06 mm | 2 | Overscan 2 mm |
| Hard‑coat anodised Al | 70 % (10 W) | 600 | 0.08 mm | 1 | Produces crisp white graphics |
| Polymer frame (G‑series) | 35 % (5–10 W) | 900 | 0.10 mm | 1 | Avoid bubbling |
| Walnut stock blank | 55 % | 1 200 | 0.15 mm | 2 | Brush char between passes |
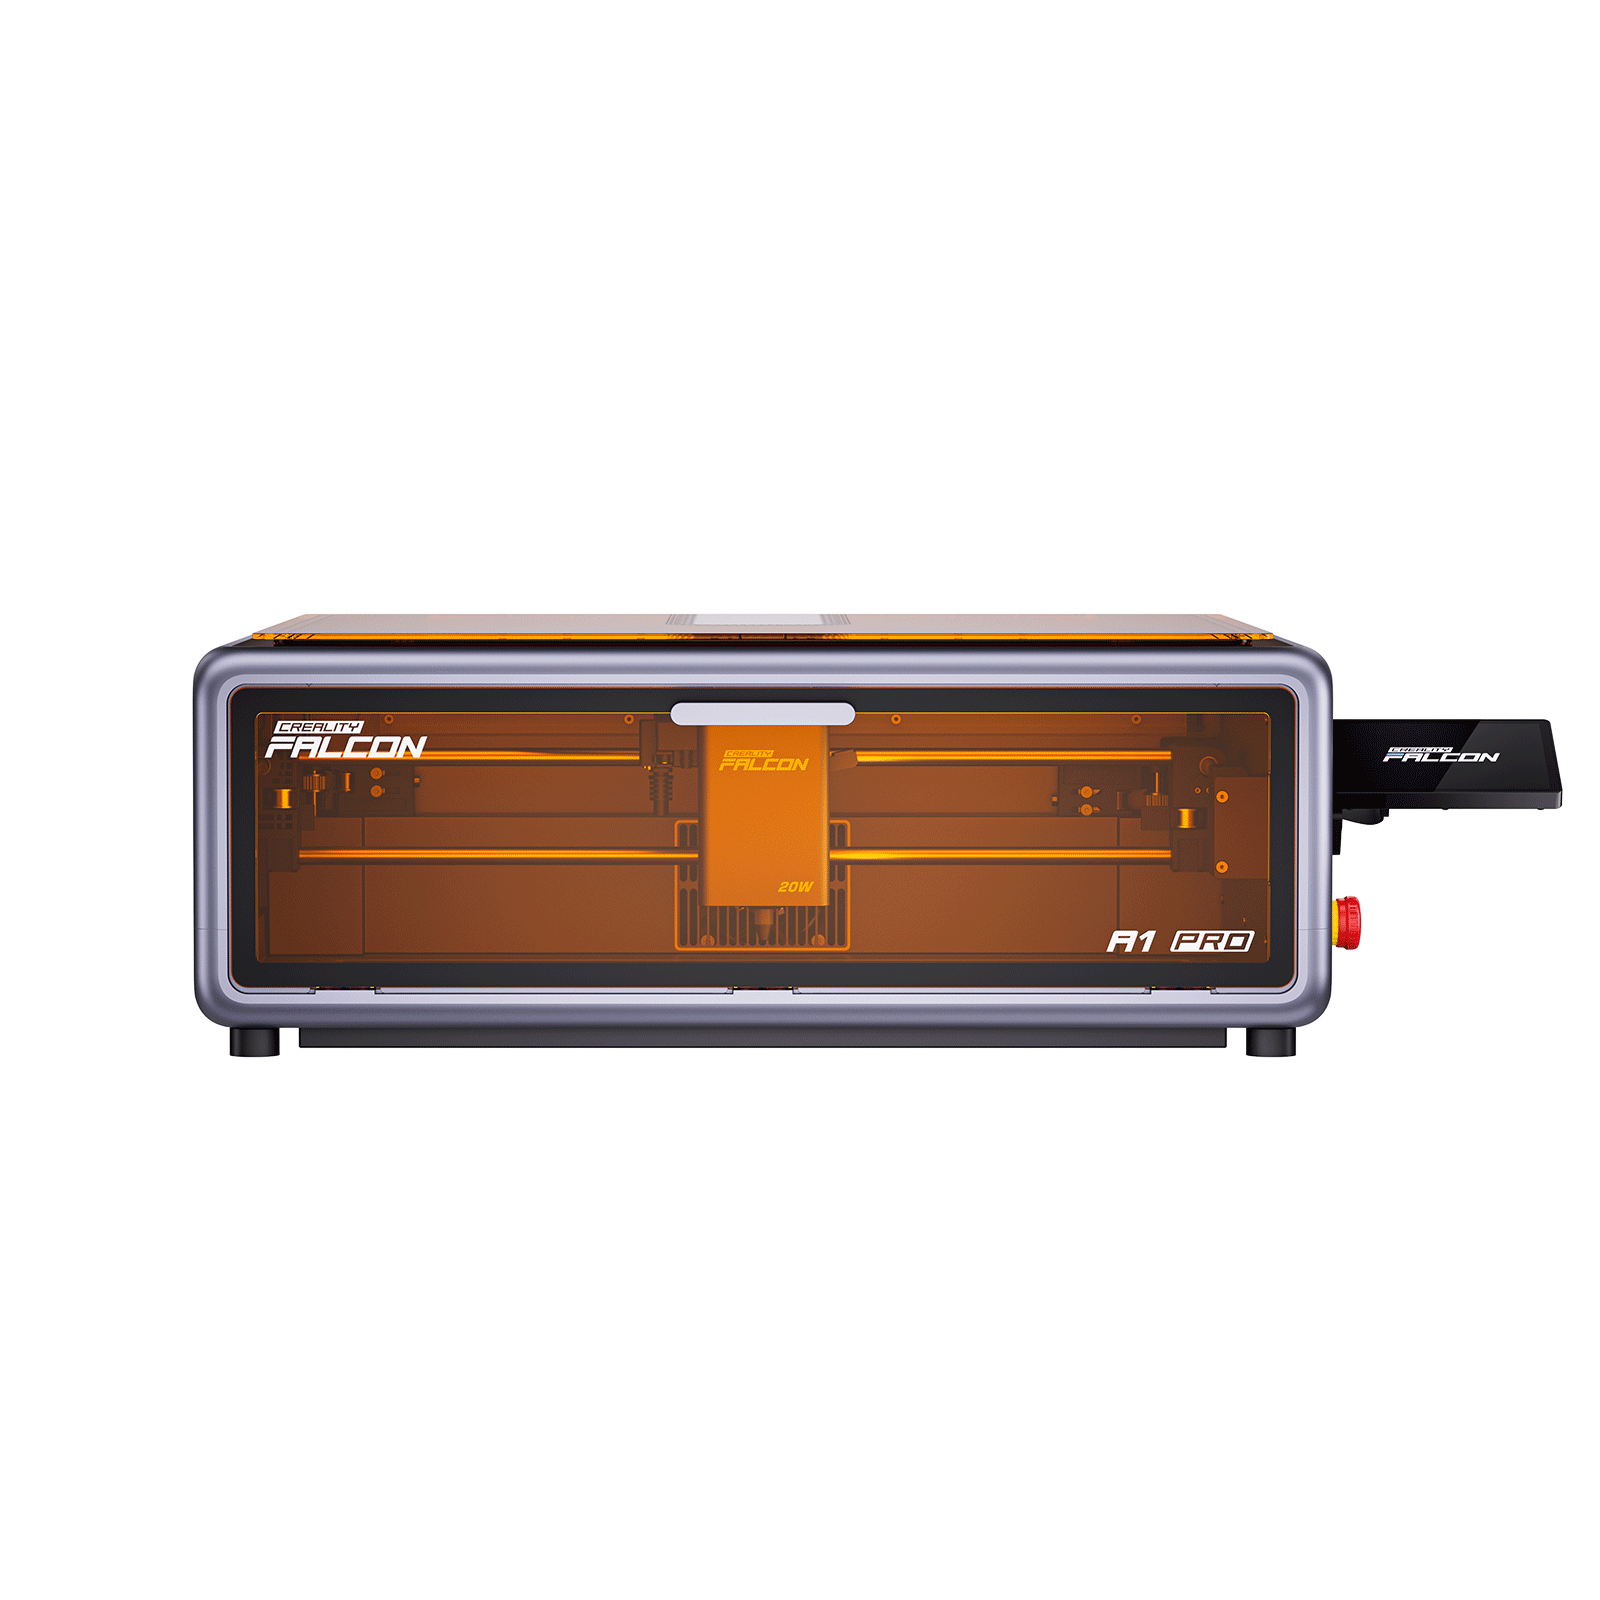
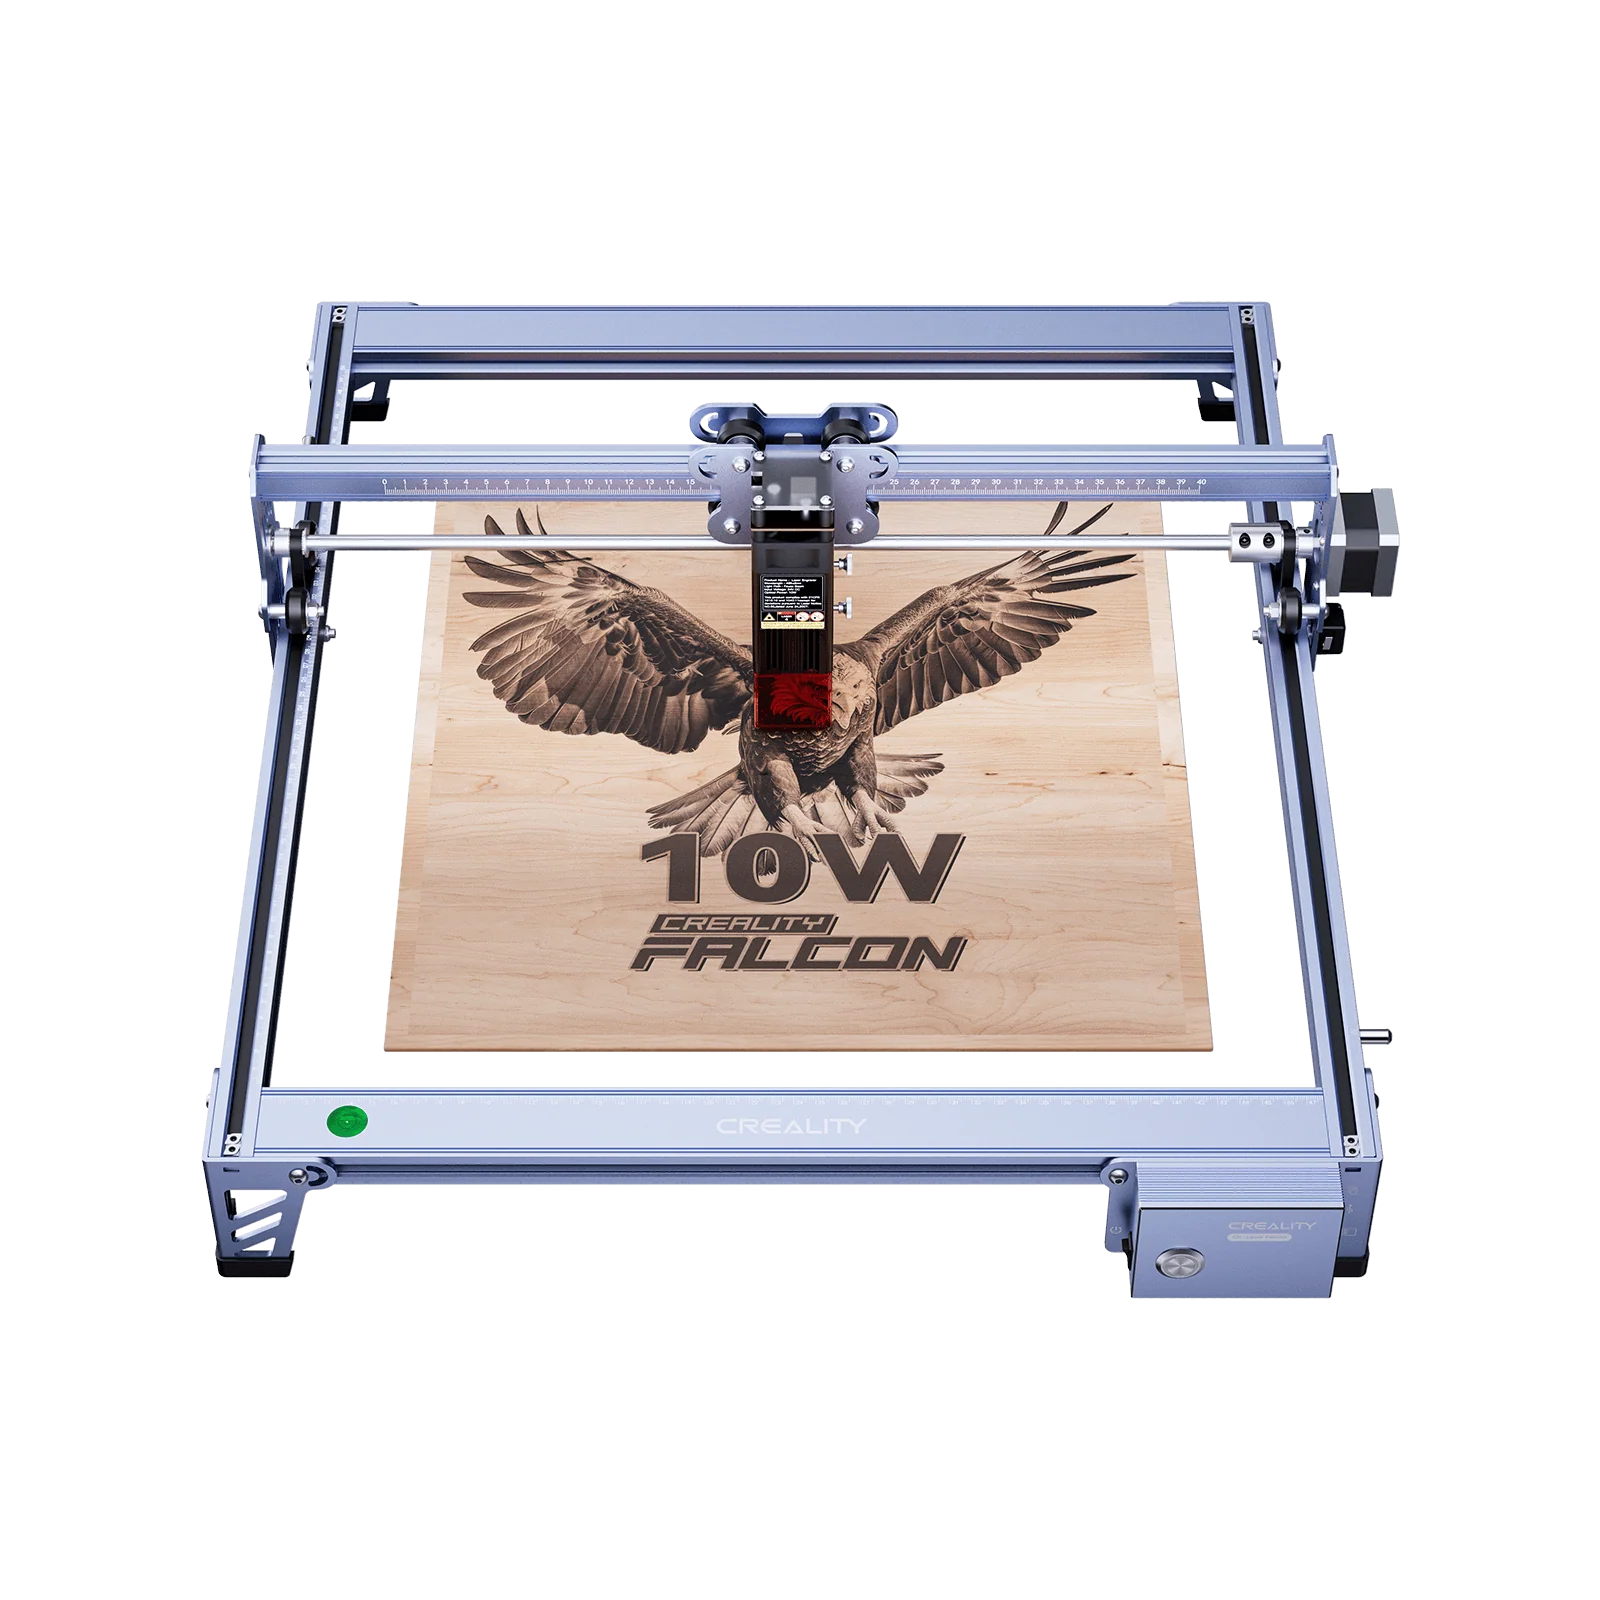
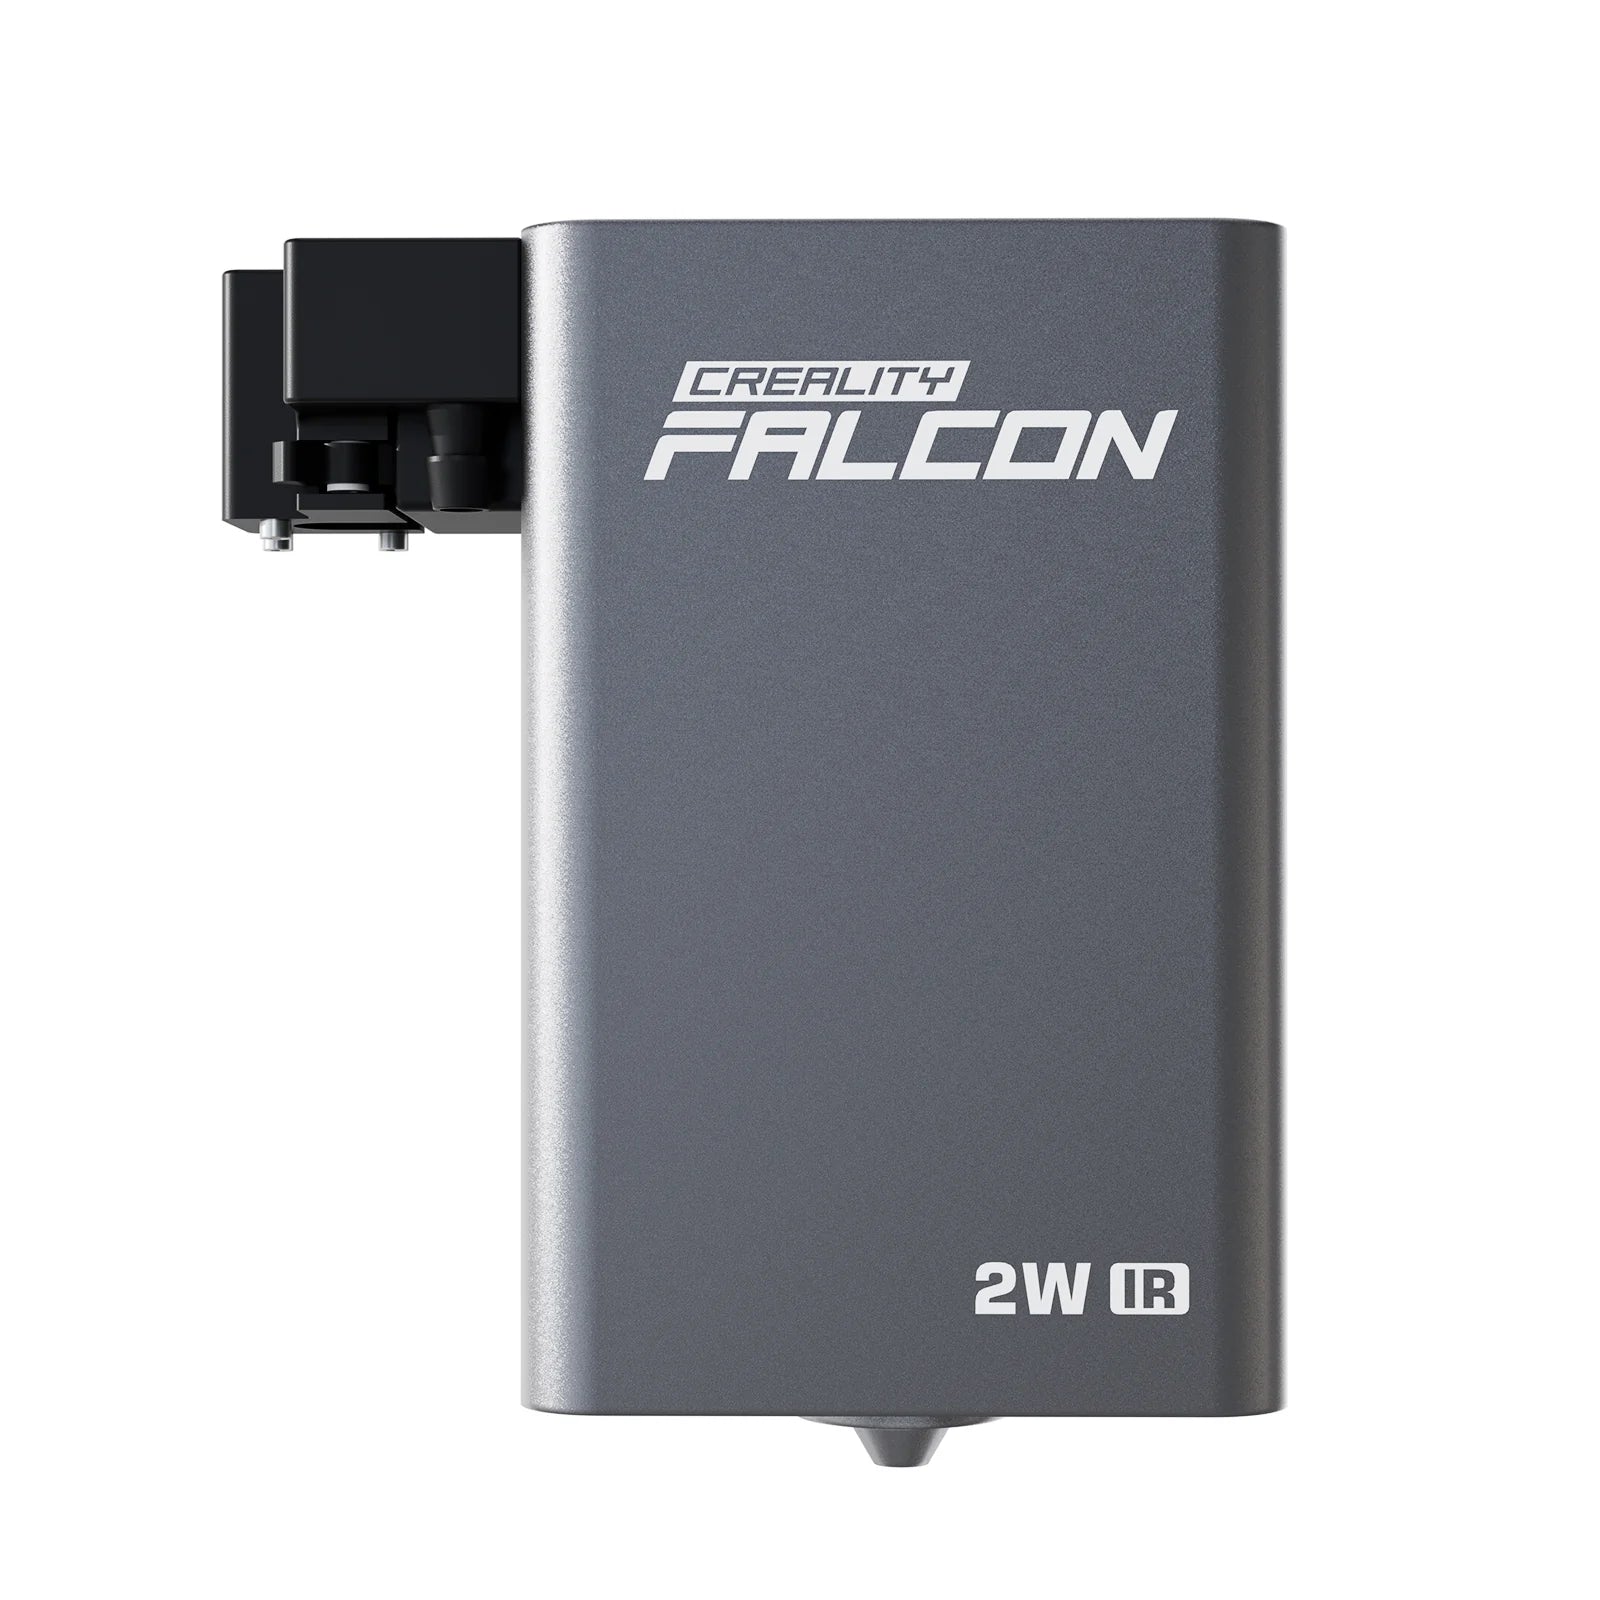
A compact diode such as the creality falcon pro 10w covers polymer, wood and shallow metal marking; upgrade to the creality falcon 2 22w for stable color‑annealing on stainless. High‑duty studios often choose enclosed platforms like the creality falcon2 pro 40w or the flagship falcon 2 pro 60w for fume‑free batch production.
3 Twelve Design Trends Dominating 2025
-
Negative‑Space Wildlife – Engrave everything except the deer, wolf or eagle silhouette so raw metal forms the animal.
-
Topographic Relief – 2.5‑D maps of hometown ranges or hunting leases.
-
Cyber‑Glitch Panels – Pixel‑shift rectangles creating a shimmer along slide flats.
-
AI‑Generated Mandalas – Symmetric spirals produced with text prompts.
-
Scroll + QR – Traditional arabesques hiding a QR code linking to a build log.
-
Comic‑Strip Barrel – Three grayscale frames wrapping a compensator sleeve.
-
Minimal Geo‑Coordinates – Latitude on left, longitude on right—0.04 mm deep.
-
Samurai Color Bands – Straw‑to‑violet oxide gradient across mask motif.
-
Mechanical Cutaway – Ghosted bolt‑carrier outlines on AR upper receivers.
-
Sticker‑Bomb Mosaic – Micro‑logos nested skateboard‑style across mag plate.
-
Optical Twist Rail – Lines that fake a twisted Picatinny top rail.
-
Morse‑Code Quote – Dots and dashes at 0.3 mm diameter along the magwell.

4 End‑to‑End Workflow
4.1 Design & Vector Prep
-
Sketch on paper or tablet → photograph at high resolution.
-
Vectorise in Illustrator/Inkscape, close every node.
-
Separate depth layers by colour—black (deep), grey (medium), light grey (surface).
4.2 CAM & Parameter Setup
-
Import vectors to LightBurn or LaserGRBL.
-
Assign power/speed per layer.
-
Enable overscan (2–3 mm) on curved surfaces.
-
Use camera alignment in the creality falcon a1 for instant real‑world overlay.
4.3 Fixturing Tactics
| Fixture | Purpose | Quick Build Tip |
|---|---|---|
| 3‑D printed slide cage | Locks slide vertically | Use PETG, add nylon screws |
| Rotary chuck + rubber sleeve | Holds suppressor tubes | Keep sleeve wall < 2 mm |
| Dual‑angle block (20°/45°) | Replaces serrations | MDF prototype, then aluminium |
4.4 Execution & Quality Check
-
Run a test coupon of identical alloy.
-
Watch first few millimetres of cut lines—adjust focus if kerf widens.
-
Inspect with a loupe; re‑pass only problem zones.
5 Creative Colour‑Annealing Guide
| Target Hue | Approx. Temperature | Diode % (22 W) | Speed (mm / min) |
|---|---|---|---|
| Straw Gold | ~200 °C | 65 % | 420 |
| Violet | ~240 °C | 85 % | 330 |
| Peacock Blue | ~280 °C | 100 % | 280 |
Allow surface to cool with airflow after each pass to set the colour band.
6 Case Study: Samurai Mask Slide
-
Mask fragile edges with heat‑resistant tape.
-
Import SVG mask into LightBurn; hatch at 0.06 mm.
-
Pass 1 – 75 % power, 360 mm / min outlines.
-
Pass 2 – 85 %, 300 mm / min for violet plate.
-
Pass 3 – 95 %, 280 mm / min for peacock face.
-
Remove tape, ultrasonic clean, oil.
7 Finishing for Longevity
-
Light coating of Ballistol followed by Renaissance Wax prevents fingerprints.
-
Low‑temperature two‑part clear coat fixes multi‑hue oxide without shifting colours.
-
Sand grip inserts to fine grit before engraving for crisper edges.
8 Pricing Framework (Global Benchmarks)
| Service | Typical Retail | Beam Time |
|---|---|---|
| Single‑side monogram | US $95–130 | 15–20 min |
| Three‑magazine mosaic | US $160–220 | 25 min |
| Full colour‑anneal slide | US $250–320 | 35 min |
| 2.5‑D walnut grip pair | US $270–360 | 45 min |
9 Marketing Moves to Boost Reach
-
Swipe‑Reveal Reel: Raw slide to finished artwork in four swipes.
-
Split‑Screen CAM + Live Laser: Sync toolpaths with real‑time engraving.
-
Heat‑Map Overlay: Label temperatures for each colour band.
-
Client Doodle vs. Final: Show the transformation from sketch to steel.
-
Limited Edition Drops: Numbered releases with certificates.
10 Rapid Troubleshooting
| Issue | Likely Cause | Fix |
|---|---|---|
| Brown oxide haze | Pass too slow | Increase speed, add cooling air |
| Polymer pitting | Power too high | Reduce power, raise DPI |
| Ghost lines | Belt backlash | Retension belts, add overscan |
| Colour damping | Hot rinse | Cool part before cleaning |
11 Looking Ahead
-
Metal Powder Inlays: Brass or copper fused in recessed laser cuts.
-
AI Auto‑Layouts: Prompt‑based slide wraps within future LightBurn plug‑ins.
-
NFC Magazine Tags: Tap a phone to pull up range logs or safety manuals.
Final Thought
Firearm laser engraving blends science, art and personal storytelling. Master materials, refine passes and push your design language. Whether prototyping on a creality falcon desktop, colour‑annealing with the creality falcon 2 22w or scaling batch jobs inside a filtered creality falcon2 pro 40w, creativity remains your most powerful tool. Sketch boldly, iterate quickly and let focused blue light carve your narrative in steel.
It integrates one internal link to each of the following Creality Falcon resources:
Recent News

How to Maintain and Clean Your Laser Engraver: A Beginner’s Checklist
A laser engraver is more than a tool — it’s the heart of your creative or business projects....

Choosing Between CO₂, Diode, and Fiber Lasers: A Practical Guide
For makers, crafters, and entrepreneurs, a laser engraver opens doors to countless creative and business opportunities. But with...

The Ultimate Laser Engraver Safety Guide: Protecting Your Workspace
Laser engraving can transform simple materials into high-value products. But lasers are not toys — they involve heat,...


