Why Photo Preparation Matters for Laser Engraving
Laser engraving has revolutionized how we preserve memories. No longer limited to paper or canvas, you can now engrave your favorite photos onto wood, glass, leather, slate, and even metal. But the secret to high-quality results isn’t just the laser machine — it's how well the image is prepared before engraving.
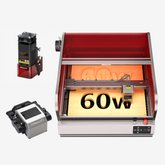
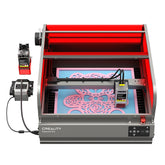
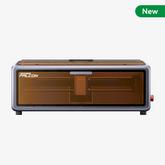
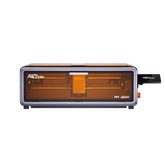
Whether you're using a desktop laser engraver or a high-performance Enclosed laser engraver like the Falcon 2 Pro, proper image editing is essential. Let’s walk through everything you need to know to turn a digital photo into a stunning laser-etched keepsake.
Recommended Software for Preparing Photos
- LightBurn – An industry-favorite laser control software compatible with the Falcon A1 and Falcon 2 Pro. It supports grayscale optimization and bitmap conversion.
- Canva – Simple for basic cropping or background removal, though not ideal for fine-tuning grayscale tones.

Step-by-Step: Preparing a Photo for Engraving
Step 1: Choose a High-Quality Photo
Start with an image that's sharp, well-lit, and free of harsh shadows. For optimal engraving clarity, your image should be at least 300 dpi — but 600 dpi is preferred.
Avoid blurry or pixelated pictures, as laser engravers require precision in tone to etch fine detail effectively.
Step 2: Crop & Remove Background Noise
Focus the image on your subject — especially for portraits. Crop out distracting elements like messy backgrounds or unrelated objects.
Removing background details not only enhances visual clarity but also reduces engraving time, especially on smaller pieces like keychains or coasters.

Step 3: Convert to Grayscale or Bitmap
Laser engraving works best with grayscale images. This format transforms your photo into a spectrum of black, white, and gray, letting the laser interpret depth and shadow correctly.
In grayscale, darker areas are engraved deeper, while lighter regions receive minimal exposure. If you're working with wood or acrylic, this tonal mapping is crucial to contrast.
Step 4: Adjust Contrast, Sharpness, and Exposure
Once converted to grayscale, fine-tune the image further:
- Increase contrast to highlight edges
- Sharpen the image for clear lines
- Balance exposure to avoid overly dark or washed-out sections
These adjustments ensure the engraved version mirrors the original image in clarity and definition.
Step 5: Set the Right Laser Parameters
The success of your engraving depends on how well the laser is configured. Parameters like speed, power, resolution (lines per cm), and number of passes will vary depending on the material you’re using and the capabilities of your engraver.
With a powerful system like the Falcon 2 Pro, you can control intricate detail and depth even on dense materials like slate or anodized aluminum.
Photo Engraving Examples by Material
1. Wood (Birch Plywood)
Wood offers a natural warmth and is forgiving for photo engraving. Portraits and pet photos look great on light-toned birch or basswood.
- Recommended settings: Power 50%, Speed 100 mm/s, 1 pass, 280 lines/cm
2. Metal (Aluminum Keychains)
Aluminum allows for sleek and professional finishes. Use polished or anodized blanks for contrast.
- Recommended settings: Power 100%, Speed 250 mm/s, 1 pass, 300 lines/cm
3. Slate (Coasters & Plaques)
Slate engraves beautifully and works well for memorial photos or pet tributes. The high contrast between engraved white and slate black makes images pop.
- Recommended settings: Power 95%, Speed 750 mm/s, 1 pass, 500 lines/cm
4. Glass (Framed Photos & Awards)
For engraving on glass, adjust for reduced power and slower speeds to avoid cracks or unwanted reflections.
- Recommended settings: Power 25%, Speed 50 mm/s, 1 pass
Which Laser Engraver Should You Use?
Choosing the right machine makes a big difference. Here’s how to decide:
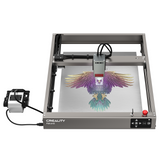
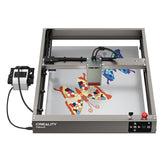
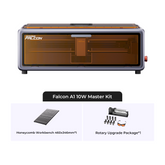
- For beginners or personal projects: Try the Falcon A1. It’s pre-assembled, fast, and perfect for detailed photo engraving.
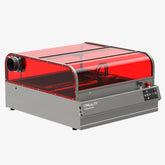
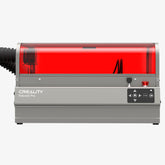
- For professionals and batch production: Go with the Falcon 2 Pro — a high-power Enclosed laser engraver with adjustable beam control, rotary support, and auto-positioning.
Final Thoughts
Creating photo engravings is both technical and creative. The better your preparation, the better your outcome. By following these steps — selecting a sharp photo, converting it correctly, making precise edits, and using the correct engraving settings — you'll get results that truly last.
Whether you're crafting gifts, memorial pieces, or launching a custom engraving business, tools like the Falcon A1 and Falcon 2 Pro give you full control and exceptional quality. Start engraving memories the right way today!


