Why Laser Cut Boxes Are So Popular
Laser cut finger joint boxes are a favorite project among DIYers and small business owners alike. Whether you're storing jewelry, organizing craft supplies, or packaging products, these boxes offer a professional, customized touch. With a precision laser engraver, you can create beautiful, functional designs that fit together perfectly—when done right.
This step-by-step guide will walk you through designing, selecting materials, cutting, and assembling your own laser cut boxes. Let’s get started!
Step 1: Designing the Laser Cut Box
Your project begins with a precise box design. You can use online box generators or design your own using vector graphic software.
Key Factors in Box Design
-
Size: Determine internal or external dimensions based on your use case (jewelry box, parts container, etc.).
-
Material Thickness: Match your design to the real thickness of your chosen material. Use calipers for best accuracy.
-
Kerf: This is the width of the laser cut. Even small miscalculations can cause loose joints.
-
Tab Width & Depth: Tabs should match the material thickness with enough interlocks for secure assembly.
Popular Box Design Tools
-
MakerCase: Generate SVG or DXF files easily online.
-
Cuttle: Offers live previews and custom adjustments.
-
Etsy or Creative Market: Ideal for downloadable templates if you prefer pre-made files.

Step 2: Choosing the Right Material
The material you select will affect the aesthetics, function, and durability of your box.
1. Cardboard
Excellent for prototyping and packaging. It’s low-cost and easy to cut — great for testing fit and kerf settings.
2. Wood (Plywood or MDF)
3mm or 6mm plywood is ideal for most projects. MDF provides smooth engraving and crisp edges at a lower cost.
3. Acrylic
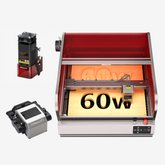
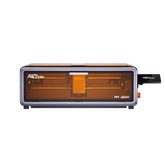
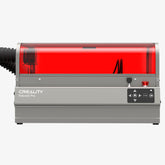
For gift boxes and polished designs, acrylic is a great choice. For best results with thicker sheets, use high-power machines like the falcon 2 pro 60w.
Step 3: Selecting the Right Laser Engraver
Choosing the right laser engraver is crucial for box-making success.
For Beginners and Home Use
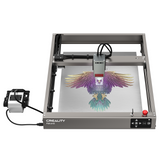
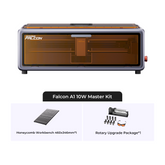
The creality falcon pro 10w is perfect for compact spaces and light to medium-duty cutting. It’s easy to set up and delivers accurate results for most wood-based designs.
For Professional or Frequent Use
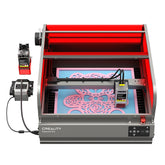
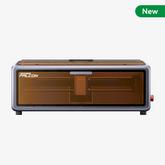
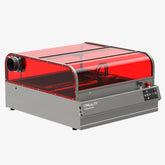
The creality falcon2 pro 40w offers more power and an enclosed build for safe, consistent cuts. It’s perfect for small business production.
Mid-Level Power Option
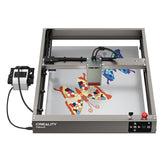
If you're looking for something powerful yet accessible, consider the creality falcon 2 22w. It balances speed, accuracy, and affordability, and is ideal for cutting thicker plywood or acrylic.
Step 4: Laser Cutting Process
Now it's time to cut.
Steps to Follow:
-
Import your box design (SVG/DXF) into your laser software.
-
Select your material and set the correct thickness.
-
Preview the layout and make engraving or cut-layer adjustments.
-
Use smart alignment features (available on many creality falcon models) to ensure precise cuts.
-
Start your job, and monitor carefully.
Pro Tip: Do a small test cut to verify settings before starting a full run. This helps you fine-tune your kerf compensation.
Step 5: Assembly & Finishing
After cutting, lay out all pieces and do a dry fit.
Assembly Tips:
-
Wood: Use wood glue sparingly for clean bonding.
-
Acrylic: Apply acrylic cement for seamless joins.
-
Cardboard: Use hot glue for quick, firm assembly.
Add finishing touches like sanding, painting, or varnishing. Some people keep the laser-burnt edge look for contrast.
Final Thoughts
Laser cut boxes are a creative and rewarding project. With the right software, materials, and equipment—such as the creality falcon2 pro 40w or falcon 2 pro 60w—you can create everything from elegant gift boxes to sturdy storage containers.
Whether you're a hobbyist or looking to start a small product line, mastering laser cut boxes opens the door to both creativity and commerce.


